
"Express Your Creativity with DIY Cardboard Stencils for Spray Painting"
Spray paint art is really a fantastic way to express creativity on many different surfaces. However, getting an ideal design on the surface may require more than the most common freestyle techniques. Sometimes, you'll need to utilize a stencil to reach precise shapes, lines, and curves for your artwork. In this information, we will discuss how to understand the art of cardboard stencil.
Plan your design
The first step towards creating perfect stencils is planning your design. You can sketch out your design written down or use design software to produce a computer-generated design. Ensure you keep the look as simple as you can, use fewer colors, and keep the facts minimal. When planning, observe the cutouts that'll create your stencil, and highlight areas of varying shades or gradient. These areas may require multiple stencil to generate perfect layering.
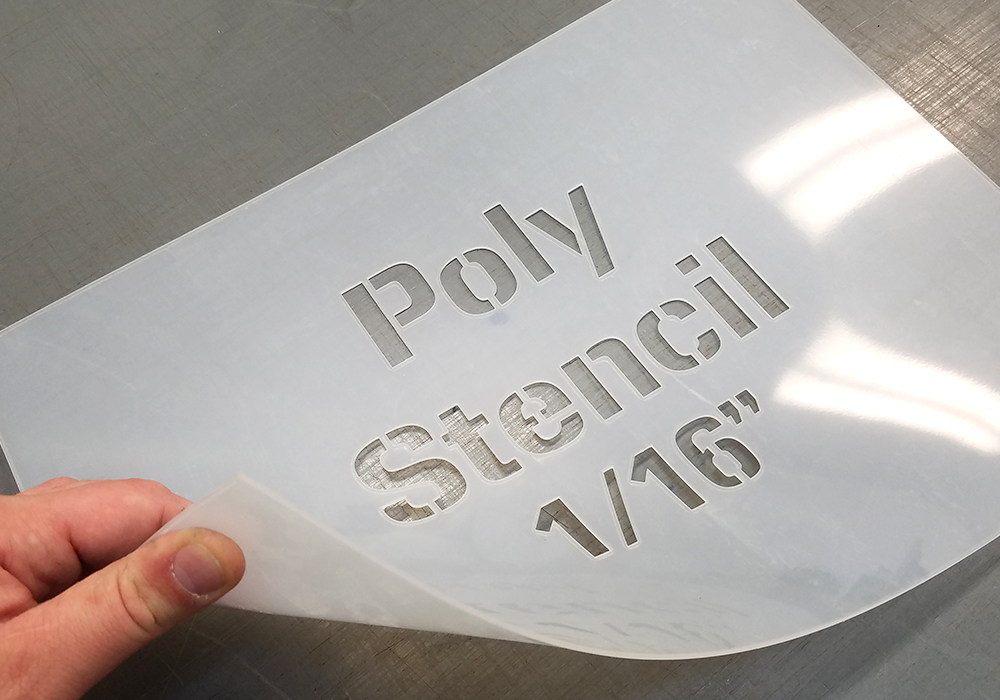
Choose your material
After deciding on your design, the next thing is selecting your material for the stencil. The most typical choices are film material or paper stock. You can even use card stock, cardboard, vinyl, or mylar sheets. The selection of material is determined by the surface you'll be painting on and the amount of detailing you need. If your surface is flat, paper stock is a wonderful option, provided it'll not be exposed to moisture. However, if you wish to repeat the stencil several times or put it to use on a curved surface, you may want to buy stronger material like Mylar sheets.
Cut right out your stencil
To create your stencil, print out your design on the chosen stencil material or make use of a stencil cutter to cut right out the design. Be precise and careful together with your cuts in order to avoid tearing your stencil material. You can use the sharp point of a field cutter, X-acto knife, or stencil cutter to cut fully out the design. Afterward, remove any excess material from across the cutout design.
Transfer your stencil design
Once you have your stencil cut fully out, it's time for you to transfer it to your painting surface. Make fully sure your target surface is clean and dry. Position the stencil at first glance and use masking tape to put up it in place. When it comes to transferring stencils, there are many ways to complete it. You can use chalk, spray adhesive, transfer paper, or a cutting tool to score lightly over the stencil's edge.
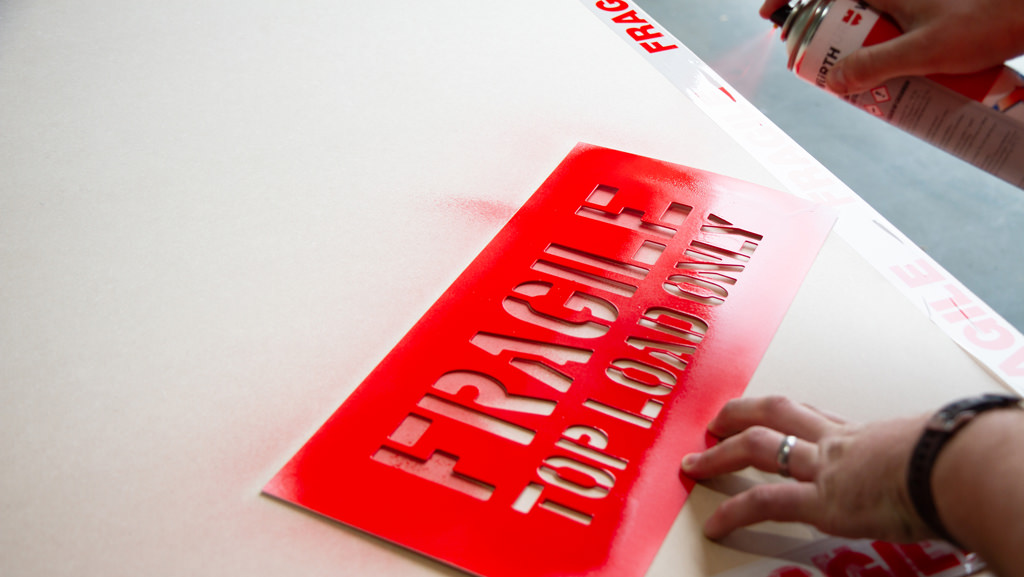
Paint your stencil
Given that you've successfully transferred your stencil to the surface, it's time to paint. Select your selected paint and a suitable aerosol spray. Use short, controlled bursts of spray paint to color the stencil. Avoid spraying a lot of paint at once, as this will cause smudging. Once complete, supply the paint enough time to dry before removing the stencil.
Conclusion:
Mastering the art of custom stencil design for spray painting is a skill that each artist should possess. With a stencil, you'll create precise and accurate designs that may wow your audience. Make sure to plan your design, choose your material carefully, and cut out your stencil precisely. Transferring and painting your stencil correctly will provide you with an exciting and fulfilling spray painting experience. Happy spraying!